How to Practice Pickleball Dinks Against a Wall
This article contains affiliate links. If you buy through them, we may earn a commission at no extra cost to you.
A wall can help you build a softer touch, steadier contact and better footwork for the kitchen line. The key is to practice controlled, low shots rather than simply keeping the ball moving. These pickleball wall dinking drills give you a repeatable way to work on those skills when a partner or court is not available.
This article is part of our guide: How to Practice Pickleball: A Guide to Drills, Skills, and Training Equipment
What Wall Dinking Can—and Cannot—Teach You
A dink is a soft shot, usually played near the non-volley zone, that clears the net and lands in your opponent’s kitchen. Against a wall, you cannot recreate that exact flight and landing pattern. You can, however, practice the compact swing, paddle control and balanced movement that make a dink reliable.
The wall also gives you quick feedback. If the rebound comes back hard, you may be using too much pace. If your contact becomes rushed or inconsistent, your positioning or swing size may need attention.
Treat wall practice as a supplement to court practice. You still need a net and an opponent’s kitchen to judge actual dink height, depth and placement.
What You Will Need
- A pickleball paddle and a few pickleballs.
- A flat, solid wall that you have permission to use.
- A level, dry playing surface with enough room to move safely.
- Court shoes with good lateral support.
- Removable tape or chalk, if marking the wall and ground is allowed.
- An optional timer to organize short practice rounds.
Avoid walls with windows, exposed fixtures or uneven surfaces. Check the ground for loose gravel, cracks and other trip hazards. Choose a location where rebounds will not endanger passersby or send balls into traffic.
How to Practice Pickleball Dinks Against a Wall
Step 1: Set Up a Simple Target
Mark a horizontal reference line on the wall around net height. A regulation pickleball net is 34 inches high at the center and 36 inches high at the sidelines. Either height can provide a useful visual reference, as long as you use it consistently.
Add a small target area several inches above the line. Your goal is to send soft shots toward that area, not to hit the lowest possible spot on every attempt.
The wall line is a reference, not a substitute for a net. Striking the wall above it does not prove that the same shot would clear a real net and land in the kitchen.
Step 2: Find a Workable Starting Distance
Start roughly seven to ten feet from the wall, then adjust. You need enough space for the rebound to bounce once and reach a comfortable hitting position.
Your ideal distance depends on the wall, ball, surface and pace of your shots. If every rebound crowds your feet, move back or reduce your pace. If the ball repeatedly bounces twice before you can reach it, move closer or add a little lift.
Once you find a manageable position, mark it on the ground. This gives you a consistent starting point for later sessions.
Step 3: Establish Your Ready Position
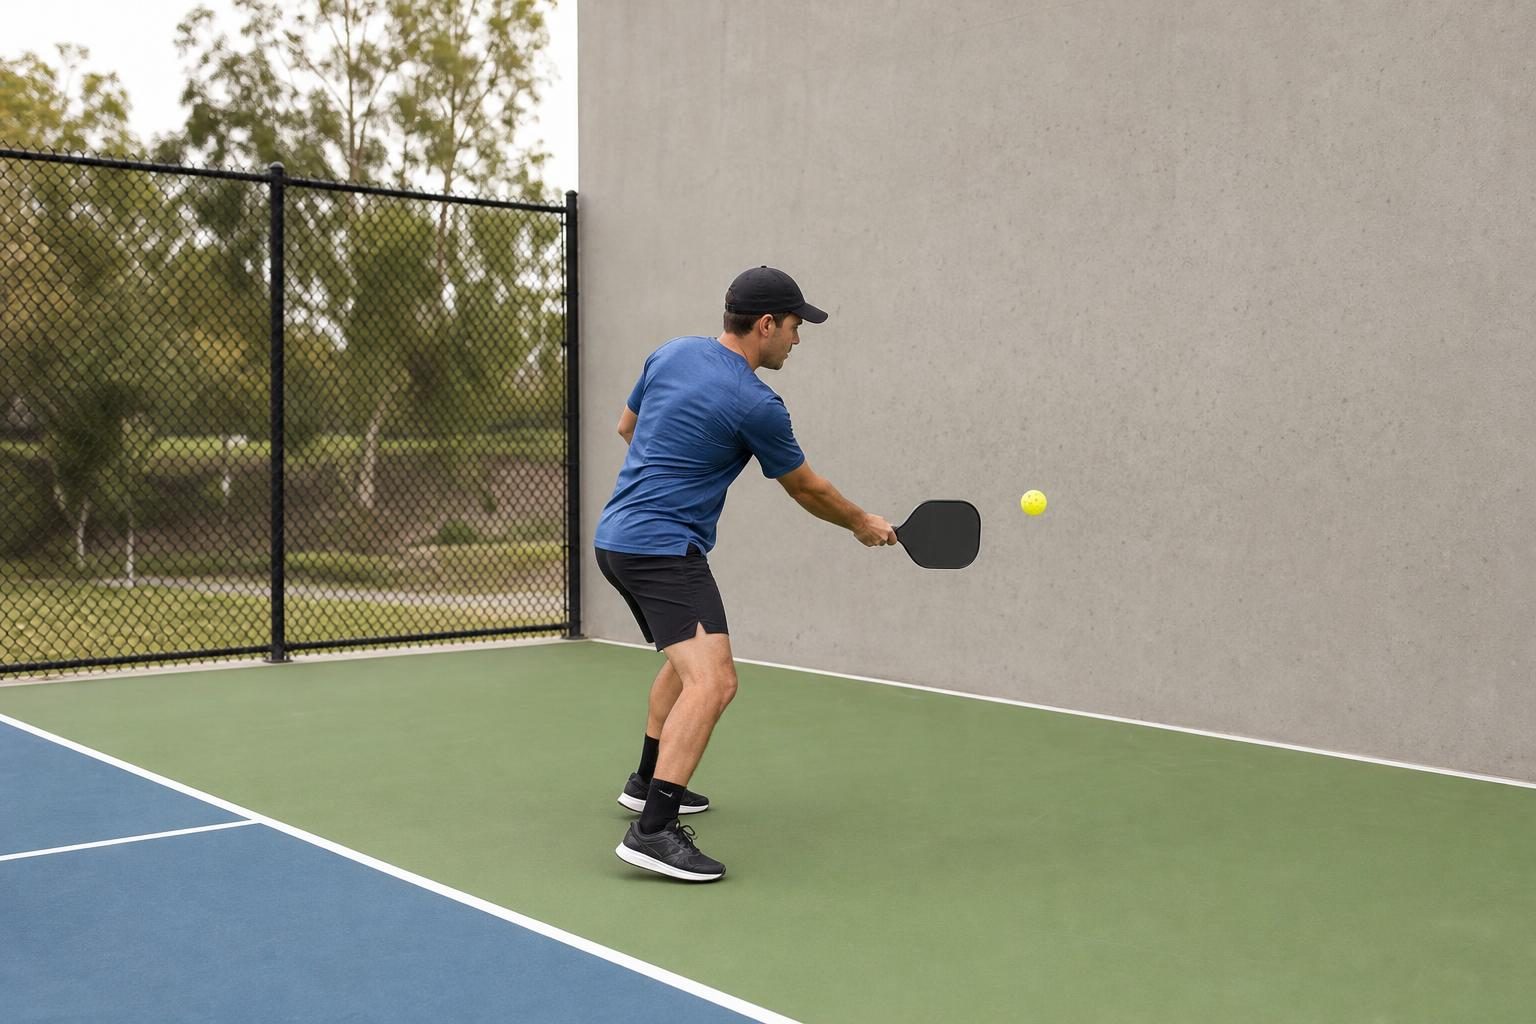
Stand with your feet comfortably apart, knees slightly bent and paddle in front of your body. Stay balanced rather than leaning heavily toward the wall.
- Use a relaxed grip that keeps the paddle stable without squeezing tightly.
- Keep your wrist quiet through contact.
- Use a slightly open paddle face to help lift the ball.
- Aim to contact the ball comfortably in front, rather than beside or behind your body.
You should feel ready to take a small adjustment step in either direction. Avoid locking your knees or planting your feet for the entire rally.
Step 4: Begin With Single Forehand Dinks
Drop the ball in front of you, let it bounce and gently send it toward your wall target. Let the rebound bounce once, then catch it. Repeat this simple sequence before trying continuous rallies.
Use a compact lifting motion, driven mainly by the shoulder, with very little backswing. Finish with the paddle in front rather than wrapping it across your body.
Watch what happens after each shot. A fast rebound suggests you should soften the stroke. A ball that shoots upward may indicate that the paddle face is too open, although contact point and swing direction also matter.
Step 5: Build a Continuous Forehand Rally
Once single shots feel comfortable, keep the rally going. Allow one bounce before each hit, then send another gentle forehand toward the target.
Begin with a goal of five controlled contacts. Increase the goal only when those contacts remain balanced and repeatable. A long streak is less useful if you are chasing the ball or slapping at it to keep it alive.
Reset whenever the rally becomes rushed. Catch the ball, return to your starting position and begin again.
Step 6: Repeat on the Backhand, Then Alternate
Shift your position so you can practice backhand dinks with the same compact motion. Use your usual one-handed or two-handed backhand grip, keeping the contact point in front.
After practicing each side separately, alternate forehand and backhand contacts. Make small lateral adjustments to line up each shot instead of reaching across your body.
If alternating continuously is difficult, use a simpler pattern: hit one forehand, catch the rebound, then hit one backhand. Add continuity only when your technique stays under control.
Step 7: Add Small Movement Challenges
Mark two nearby targets on the wall, one to each side of your central target. Alternate between them while adjusting your feet to meet the rebounds.
Keep the targets close together at first. Angled rebounds can travel away faster than expected, and the goal is controlled movement—not a sprint.
Work on moving into position, establishing balance and then making contact. After each shot, bring your paddle back in front and prepare for the next ball.
A Simple Wall Dinking Practice Routine
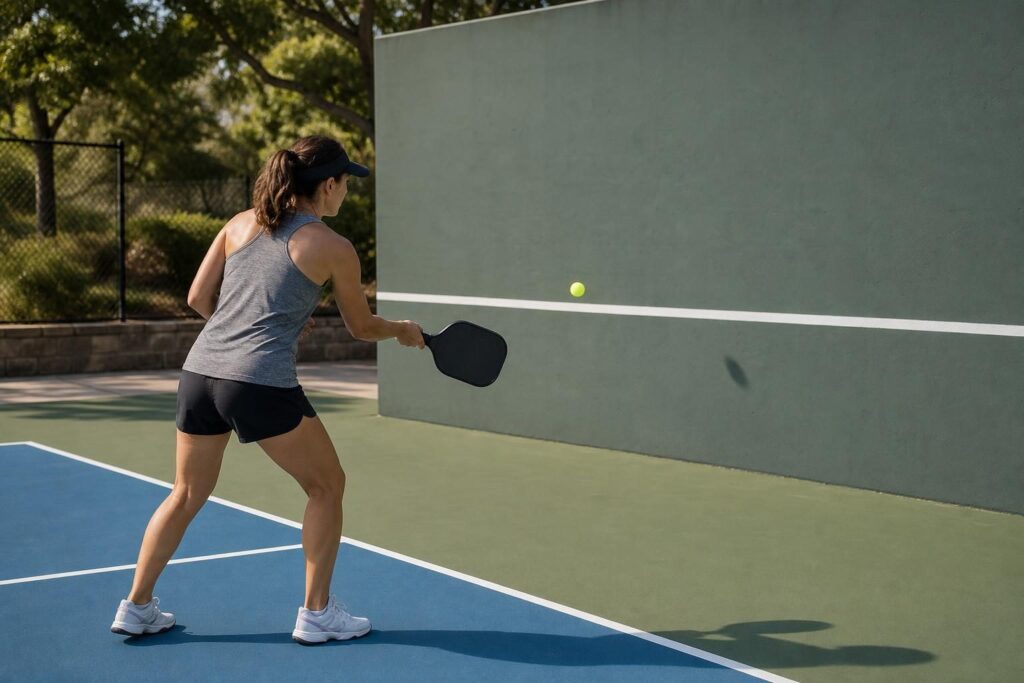
Use short rounds so you can maintain attention and good technique. This sample routine takes about 12 minutes, including brief resets.
- Two minutes: Single forehand and backhand shots, catching the rebound after each attempt.
- Three minutes: Continuous forehand dinks with one bounce between contacts.
- Three minutes: Continuous backhand dinks, pausing whenever your form breaks down.
- Two minutes: Alternating forehand and backhand contacts.
- Two minutes: Small lateral movements between two nearby targets.
Take additional breaks as needed. Quality matters more than completing every round without stopping.
Common Mistakes to Avoid
Hitting Harder to Save Every Rally
It is tempting to add speed when a rebound starts getting away from you. That often turns a touch drill into a fast exchange. Stop and restart instead of reinforcing a rushed swing.
Using Too Much Wrist
A last-second wrist flick makes paddle angle and pace harder to repeat. Keep the wrist relatively stable and use a small, smooth lifting motion.
Standing Still and Reaching
Reaching can pull you off balance and move contact behind your ideal hitting position. Use small foot adjustments to create space before swinging.
Chasing Streaks Instead of Good Contact
Twenty awkward contacts are not necessarily better than five controlled ones. Track whether you stayed balanced, used a compact swing and hit near your target.
Mistaking Wall Success for Court Accuracy
A wall cannot show whether your dink would land short, sail deep or give an opponent an attackable ball. Check those skills during your next on-court session.
Practical Tips for Better Results
- Change one variable at a time. Adjust your distance, target or pace separately so you can identify what helps.
- Start with comfortable feeds. Build repeatable contact before introducing wider rebounds or lower balls.
- Practice both sides. Give extra attention to the side that feels less controlled without abandoning your stronger side.
- Record a short video. Look for an oversized backswing, late contact or feet that stop moving.
- Transfer the skill to a court. Follow wall practice with cooperative dinking, focusing on net clearance and landing the ball in the kitchen.
Conclusion
The best pickleball wall dinking drills emphasize soft contact, compact swings and balanced footwork. Start with single shots, build controlled rallies and add movement gradually. Keep the wall’s limitations in mind, then use court practice to turn that improved touch into accurate, dependable dinks.