How to Hit a Third-Shot Drop: Technique and Beginner Drills
This article contains affiliate links. If you buy through them, we may earn a commission at no extra cost to you.
Learning how to hit a third shot drop can help you move from the baseline toward the kitchen without giving your opponents an easy attack. The goal is not to hit a winner. It is to send a soft, controlled ball into the opposing non-volley zone, giving you time to advance. Start with a compact swing, a balanced stance, and a generous target before worrying about precision.
This article is part of our guide: How to Practice Pickleball: A Guide to Drills, Skills, and Training Equipment
What Is a Third-Shot Drop?
The third shot is the serving team’s first shot after the return of serve: the serve is shot one, the return is shot two, and the next shot is shot three.
A third-shot drop travels in a soft arc and lands in your opponents’ kitchen, also called the non-volley zone. A successful drop makes opponents contact the ball low rather than hit down on it aggressively.
You do not have to reach the kitchen after a single drop. A good third shot may let you advance several steps. You might then need another soft shot to finish moving forward safely.
What You Will Need
- A pickleball paddle and several balls.
- A court with a net and clearly marked kitchen lines.
- A partner who can feed balls and return your drops.
- Optional flat court markers to create landing targets without creating a tripping hazard.
Begin at a shorter distance than the baseline. It is easier to learn the required touch near the kitchen and gradually work backward than to force a full-court drop immediately.
How to Hit a Third Shot Drop: Step by Step
Step 1: Recover After Your Serve and Read the Return
After serving, prepare for the return rather than rushing toward the net. The serving team must let the return bounce before striking it.
Watch the ball’s direction and depth. Move early so you can hit from a stable position instead of reaching sideways or contacting the ball behind your body.
If the return pushes you off balance, prioritize a controlled response. A third-shot drop is useful, but it is not mandatory on every point.
Step 2: Get Balanced Behind the Ball
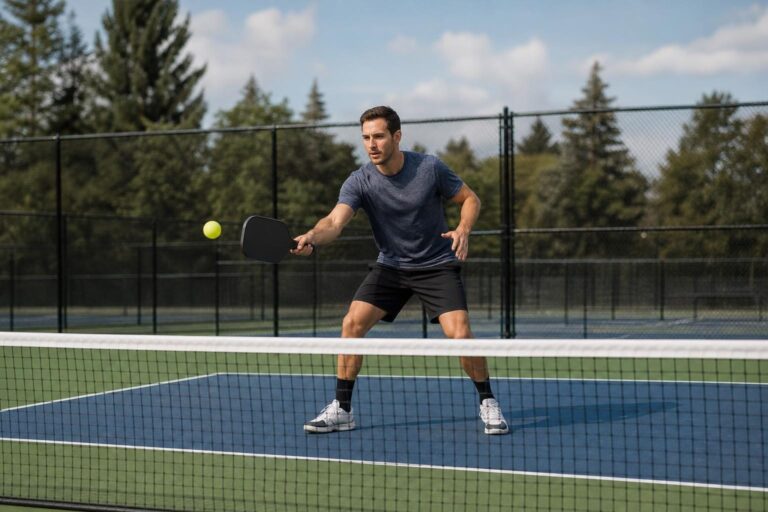
Use small adjustment steps to create comfortable space between your body and the ball. Set your feet in a balanced athletic stance, with your knees bent and your upper body relaxed.
Try to finish your main movement before swinging. Running through contact makes it harder to control both height and distance.
Let the bounce develop. On a typical return, contacting the ball after its peak can help you find a comfortable contact height. Do not wait so long that the ball drops to your ankles or crowds your body.
Step 3: Soften Your Grip and Prepare the Paddle
Hold the paddle securely but without squeezing hard. Excess tension can make the ball rebound too quickly off the paddle face.
Keep your backswing short and position the paddle below your expected contact point. Open the paddle face slightly so you can lift the ball over the net.
A familiar, comfortable grip is fine for learning. Focus on keeping the paddle face stable rather than making a large grip change just before contact.
Step 4: Lift With a Smooth, Compact Swing
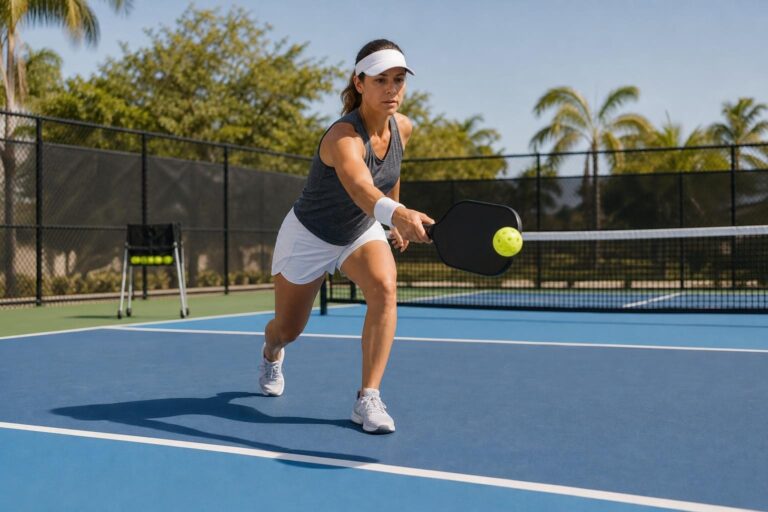
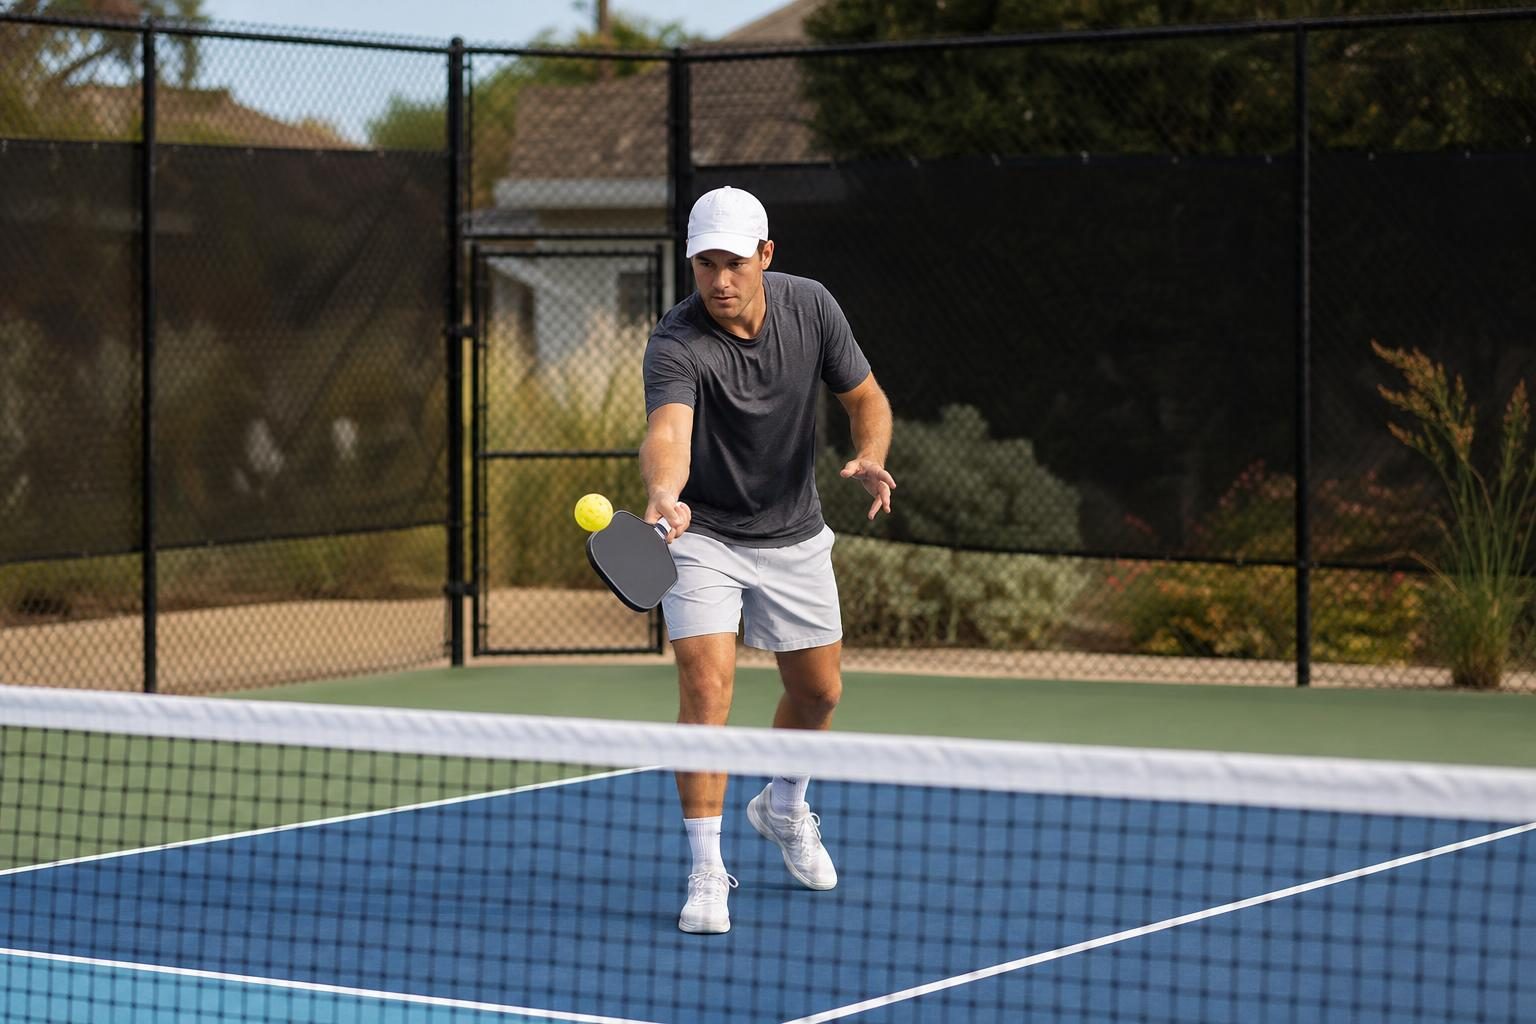
Use a gentle low-to-high motion, with your shoulder guiding the paddle and your wrist staying quiet. Let a small rise through your legs support the swing.
Contact the ball comfortably in front of your body. Think of lifting and sending it toward the target, not chopping underneath it or scooping it with a sudden wrist flick.
The swing should flow through contact. Trying to stop the paddle abruptly often creates a hesitant shot that falls into the net.
Step 5: Aim for an Arc That Descends Into the Kitchen
Give the ball enough height to clear the net comfortably, then descend into the kitchen. A drop is not meant to skim the tape like a hard drive.
Start with a broad target through the middle rather than a narrow sideline target. A crosscourt drop can also provide more court length for the ball to descend, although it requires directional control.
Judge the shot by both its landing spot and your opponent’s contact height. A ball that lands in the kitchen can still be attackable if it travels too high and an opponent intercepts it early.
Step 6: Finish Smoothly and Watch the Result
Allow a short, natural follow-through toward your target. Avoid a big finish that adds unnecessary pace.
Watch how the ball travels. If it repeatedly hits the net, check your contact point, paddle angle, and lift. If it flies deep, reduce the forward push and check whether you are opening the paddle face too much.
Change one thing at a time so you can identify what improves the shot.
Step 7: Advance Only as Much as the Shot Allows
Move forward when your drop is likely to force a low, controlled reply. If the ball sits up for an attack, stop sooner and prepare to defend.
As your opponent prepares to strike, use a small split step or balanced stop. Being ready for the next ball matters more than gaining one extra step toward the kitchen.
In doubles, communicate and advance together when possible so you do not leave a large gap between partners.
Beginner Drills for a More Reliable Drop
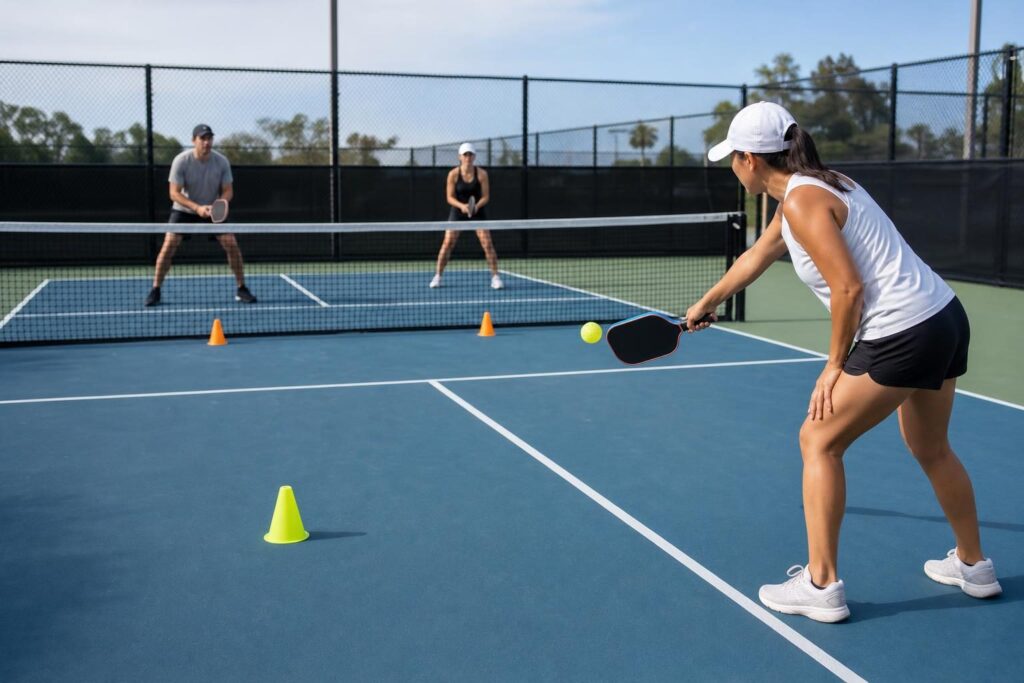
Drill 1: Start With Short-Court Drops
- Have your partner stand near the opposite kitchen line while you begin a few steps behind your own kitchen line.
- Ask for gentle feeds that bounce in front of you.
- Use a compact lifting motion to send each ball into the opposite kitchen.
- After several controlled drops, move back a step or two.
- If your technique becomes rushed or your swing gets much bigger, move closer again.
Focus: Learn to adjust the swing’s length and lift gradually rather than adding a sudden burst of power from farther back.
Drill 2: Baseline Drops to a Broad Target
- Start near the baseline with your partner across the net.
- Ask your partner to feed a comfortable, deep ball that you allow to bounce.
- Hit a drop toward a broad central area of the kitchen.
- Work in sets of 10 balls, noting which drops land in the target and which would allow a low contact.
- Repeat while focusing on just one cue, such as a relaxed grip or contact in front.
Focus: Track improvement without treating every miss as a reason to rebuild your technique. A target of six controlled drops out of 10 can be a useful starting challenge, not a universal standard.
Drill 3: Drop, Advance, and Stop
- Begin at the baseline while your partner stands near the opposite kitchen line.
- Have your partner feed a deep ball, then play your drop.
- Advance as the ball travels, judging whether your partner will have a low or high contact.
- Get balanced before your partner hits the next ball.
- Play another soft shot if needed, then continue toward the kitchen when the reply allows it.
Focus: Connect the drop to smart movement. Ask your partner to return balls cooperatively at first, then gradually add more challenging replies.
Common Third-Shot Drop Mistakes
- Using a large backswing: This adds speed you then have to control. Keep the preparation compact.
- Flicking the wrist: A last-second flick changes the paddle angle. Use a smoother arm motion with a stable wrist.
- Standing upright: Lower your body enough to contact the ball comfortably without reaching down awkwardly.
- Aiming too close to the net: Give yourself clearance rather than trying to hit a perfect, low skimmer.
- Trying to manufacture heavy spin: Learn a dependable basic drop before adding more complex spin variations.
- Charging forward after every attempt: Read the quality of your shot and stop before your opponent makes contact.
- Forcing a drop from a poor position: A controlled drive or defensive reply may be more practical when you are stretched or late.
Practical Tips for Match Play
Use one simple cue. “Soft grip, smooth lift” is easier to remember during a rally than a long technical checklist.
Practice both forehand and backhand drops. Opponents will not always return to your preferred side, and moving around every backhand can leave you off balance.
Expect imperfect drops. If your third shot does not get you all the way forward, stay composed and look for another chance to play softly into the kitchen.
Finally, practice with different return depths. A short return and a deep return require different amounts of lift and forward energy, even when the basic motion stays the same.
Conclusion
A reliable third-shot drop comes from balance, a relaxed grip, and a smooth lifting motion—not a complicated swing. Build touch from shorter distances, work back toward the baseline, and practice moving forward behind the shot. Aim for repeatable, low-contact replies rather than perfection, and let each drop help you earn a better court position.