How to Stop Your Heel Slipping in Pickleball Shoes
This article contains affiliate links. If you buy through them, we may earn a commission at no extra cost to you.
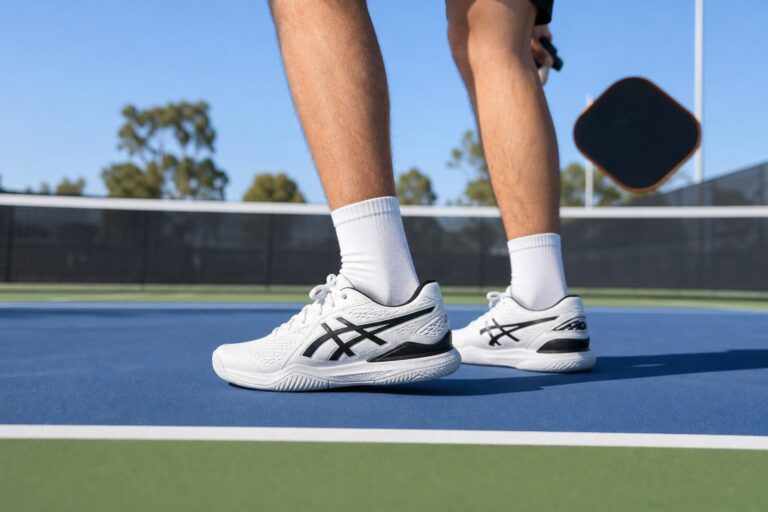
Heel slipping in pickleball shoes can make quick stops and changes of direction feel unstable. It can also create rubbing that leads to hot spots and blisters. If you are wondering how to stop heel slipping in pickleball shoes, start with the fit and lacing before adding pads or buying a different pair.
This article is part of our guide: How to Choose Pickleball Shoes for Indoor and Outdoor Courts
The goal is a secure heel without crushed toes, pressure across the top of your foot, or an irritated Achilles tendon. Work through the steps below, changing one thing at a time so you can tell what helps.
Why Your Heel Slips in Pickleball Shoes
Heel slip happens when your heel moves independently of the shoe instead of staying comfortably seated in the heel cup. You may notice it lifting when you walk, rubbing during lateral movement, or sliding forward when you stop.
Common causes include:
- Too much length: An oversized shoe gives your foot room to slide.
- A mismatch in shape: The forefoot may fit well while the heel or midfoot is too roomy.
- Loose or uneven lacing: Slack around the ankle and midfoot can let the heel lift.
- Sock problems: Thin, loose, or bunched socks can affect how securely the shoe holds your foot.
- Worn padding: Compressed heel lining can leave more space than the shoe had when new.
- A changed insole: A replacement insole can alter how deeply your heel sits inside the shoe.
A small amount of movement is not automatically a problem. Repeated lifting, rubbing, or a feeling that you need to grip with your toes deserves attention.
What You Will Need
- Your pickleball shoes and usual playing socks.
- A clean, dry area for a short movement test.
- Laces long enough to use the top eyelets, if your shoes have them.
- Optional: another pair of well-fitting athletic socks or a thin heel grip pad.
How to Stop Heel Slipping in Pickleball Shoes: Step by Step
Step 1: Check the Basic Fit
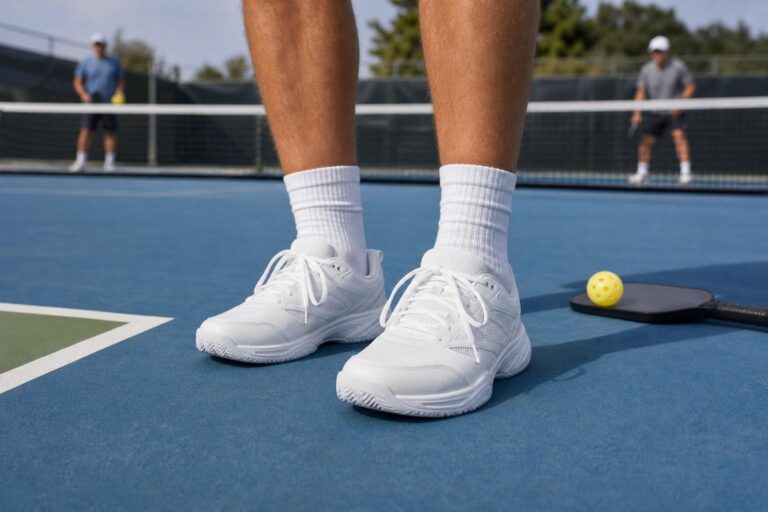
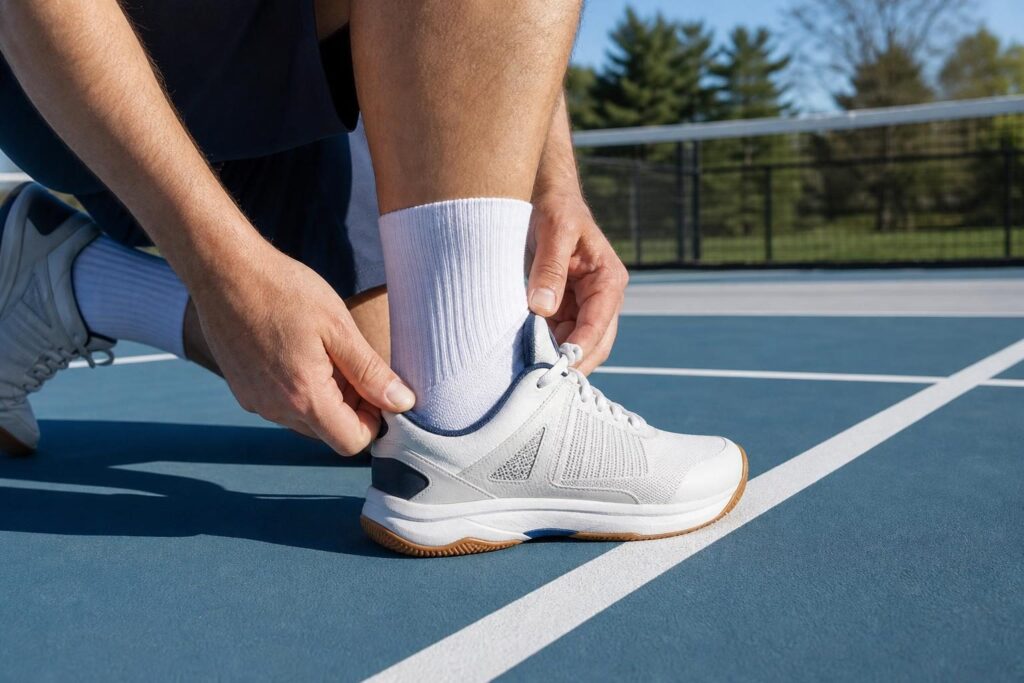
Put on your playing socks, then stand in both shoes with your weight evenly distributed. Your toes should have room to spread and should not hit the front when you move into a controlled stop.
Check the heel and midfoot separately. If the front feels right but your heel swims around, you may need a shoe with a narrower heel or a different internal shape rather than a shorter size.
Try footwear later in the day or after some walking, when your feet may be slightly fuller. Check both feet, since they may not be the same size.
Do not size down solely to stop heel slip if doing so crowds your toes. A secure heel is not worth toe pressure, numbness, or nails repeatedly hitting the front of the shoe.
Step 2: Seat Your Heel Before Tightening the Laces
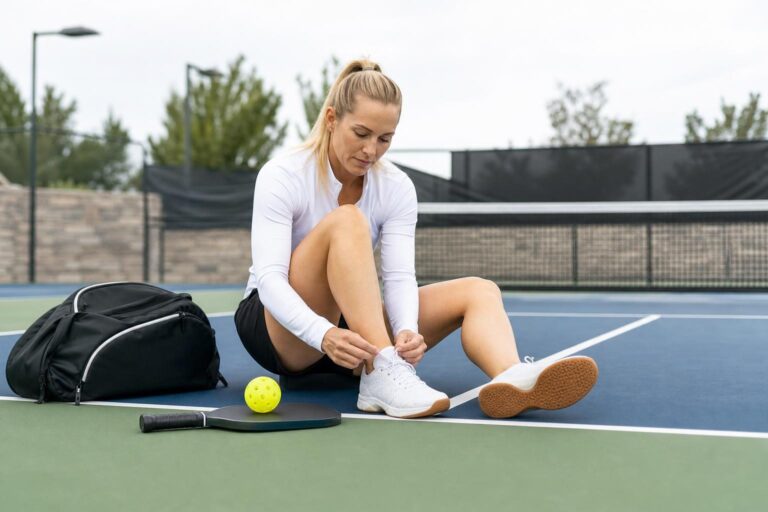
Loosen the laces enough to let your foot settle fully into the shoe. While seated, place your heel against the back of the heel cup.
Then tighten the laces progressively from the lower part of the shoe upward. Aim for even, comfortable tension rather than pulling hard only at the top.
The forefoot should remain comfortable, while the midfoot feels held in place. If the lower laces stay loose, tightening the ankle alone may not stop your foot from sliding.
Step 3: Try Heel-Lock Lacing
If your shoes have an extra top eyelet on each side, heel-lock lacing, also called a runner’s loop, may reduce heel movement. It adds a more secure hold around the upper part of the shoe without requiring you to overtighten every lace crossing.
- Lace the shoe normally up to the second-to-last eyelet.
- On each side, pass the lace through the final eyelet on that same side, leaving a small loop.
- Cross the lace ends and feed each end through the loop on the opposite side.
- Gently pull the ends to snug the loops, then tie your usual bow.
Walk around before trying court movements. The fit should feel secure, not restrictive. If you feel pressure across the front of the ankle, tingling, or irritation near the Achilles tendon, loosen the laces or return to standard lacing.
If your shoe does not have suitable top eyelets, do not force this pattern or make extra holes. Focus on even lacing tension and the other fit checks instead.
Step 4: Check Your Socks
Wear socks that fit closely without wrinkles or loose fabric around the heel. Athletic socks that manage moisture can help keep your feet more comfortable during play, especially if damp socks are contributing to rubbing.
If your current socks are very thin and the shoe is only slightly roomy, try a moderately cushioned pair. Retest the whole fit: extra thickness should not squeeze your toes or put pressure across the top of your foot.
Avoid treating thick socks as a cure for a substantially oversized shoe. They cannot reliably correct the wrong shoe shape or size.
Step 5: Inspect the Insoles and Heel Lining
Check that each insole lies flat and is seated properly. Look for curling edges, shifting, or wear that may affect how your foot sits.
If heel slipping began after changing insoles, compare the replacement with the original. A thicker insole can raise your heel and leave less of it contained by the heel cup. A thinner one can create extra room inside the shoe.
Do not stack insoles to fill space. This can crowd the shoe and lift your heel into a less secure position. If you wear prescribed orthotics, seek fitting advice rather than changing or removing them simply to solve slipping.
Also inspect the heel lining. Torn fabric, flattened padding, or a distorted heel counter—the supportive structure around the back of the shoe—may indicate that the shoes need replacing.
Step 6: Consider a Thin Heel Grip for a Minor Fit Gap
A thin adhesive heel grip may help when the shoe otherwise fits well but has a little excess space at the back. Follow the product’s placement instructions and apply it to a clean, dry lining.
Start with a small adjustment. A thick pad can push your foot forward, reduce toe room, or create a new rubbing point.
Heel grips are not a dependable solution for shoes that are clearly too large or unstable. Avoid stacking multiple pads, and stop using a grip if it loosens, bunches, or irritates your skin.
Step 7: Test the Fit With Pickleball Movements
Once the shoes feel comfortable while walking, test them in a clear, dry area with suitable traction. Build up gradually rather than jumping straight into a competitive rally.
- Walk and perform a few gentle heel raises.
- Try short, controlled side shuffles in both directions.
- Add easy forward steps followed by controlled stops.
- Progress to small split steps and changes of direction.
Your heel should remain comfortably contained without repeated lifting or rubbing. Your toes should stay relaxed rather than clawing to hold the shoe on.
If the adjustment works, check the fit again after warming up. Retie the laces if needed, but do not keep tightening them to compensate for a shoe that still feels wrong.
Common Mistakes to Avoid
- Overtightening the top laces: This can create pressure without fixing excess room elsewhere.
- Choosing a smaller size at any cost: Toe crowding is not an acceptable trade-off for heel security.
- Changing several things at once: New socks, insoles, and pads together make it difficult to identify what works.
- Expecting break-in to fix a loose heel: A shoe may soften with use, but that does not mean it will become more secure.
- Ignoring worn-out structure: Fresh laces cannot restore flattened padding or a damaged heel counter.
- Playing through a hot spot: Stop and address rubbing before it develops into a more painful skin problem.
Practical Tips for a More Secure Fit
Bring your playing setup when shopping. Try shoes with the socks and any orthotics you actually use. A fit check in thin everyday socks may give a misleading impression.
Look beyond the size label. Shoes in the same stated size can hold the heel differently. Compare heel security, midfoot hold, and toe room rather than assuming your usual size will fit every model.
Choose court stability as well as heel security. Pickleball involves lateral movement and abrupt stops. A shoe should hold your whole foot securely over its base, not merely grip the back of your heel.
Pay attention to pain. If slipping continues despite reasonable adjustments, try a different shoe shape. Persistent heel pain, Achilles discomfort, numbness, or recurring blisters warrants advice from a qualified healthcare professional.
Conclusion
To stop heel slipping in pickleball shoes, check the fit first, seat your heel properly, and adjust the lacing. Then evaluate your socks, insoles, and shoe wear before considering a thin heel grip. If you need extreme tightening or several layers of padding, a different shoe shape is usually the better solution. Aim for a comfortably contained heel, relaxed toes, and confidence during controlled court movements.