How to Set Up a Pickleball Net on a Driveway
This article contains affiliate links. If you buy through them, we may earn a commission at no extra cost to you.
Learning how to set up a pickleball net on a driveway starts with checking the space, not unpacking the poles. A portable net can turn a suitable driveway into a convenient practice area, but the surface, slope, traffic access, and room around the court all affect how safely you can play. Follow these steps to assemble your net, position it correctly, and create a useful driveway setup.
This article is part of our guide: Portable Pickleball Net Buying Guide: Size, Stability, and Setup
What You Will Need
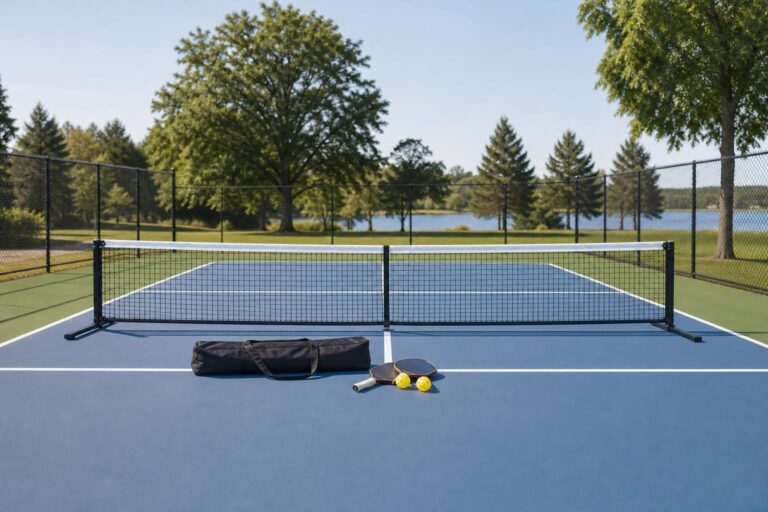
- A portable pickleball net with its frame, feet, netting, and any included center support.
- A tape measure long enough to measure your playing area.
- A surface-safe marking option, such as washable sidewalk chalk or removable outdoor court tape.
- A broom or leaf blower to clear debris.
- A paddle and a few pickleballs.
- Optional: a long straightedge and level to help assess uneven areas.
Check the net’s instructions before starting. Portable systems differ in how their frame sections connect, how the center support fits, and how net tension is adjusted.
Step-by-Step Driveway Pickleball Net Setup
1. Check Whether Your Driveway Is Suitable
Walk the entire proposed playing area. Look for cracks, loose gravel, raised joints, drainage channels, oil spots, and anything else that could cause a slip or awkward bounce.
Pay particular attention to slope. Many driveways incline toward the street or slope sideways for drainage. A noticeable slope changes ball behavior and can make quick stops less secure. Adjusting the net does not correct an unsafe playing surface.
- Choose the flattest, most even section available.
- Avoid areas where water collects or the surface stays slippery.
- Keep play away from garage doors, windows, parked vehicles, and landscaping edges.
- Make sure players will not chase balls into an active street.
If the driveway is steep, badly cracked, or too confined for safe movement, use a proper court instead. A portable net is convenient, but it cannot make every driveway suitable for play.
2. Measure the Court and the Space Around It
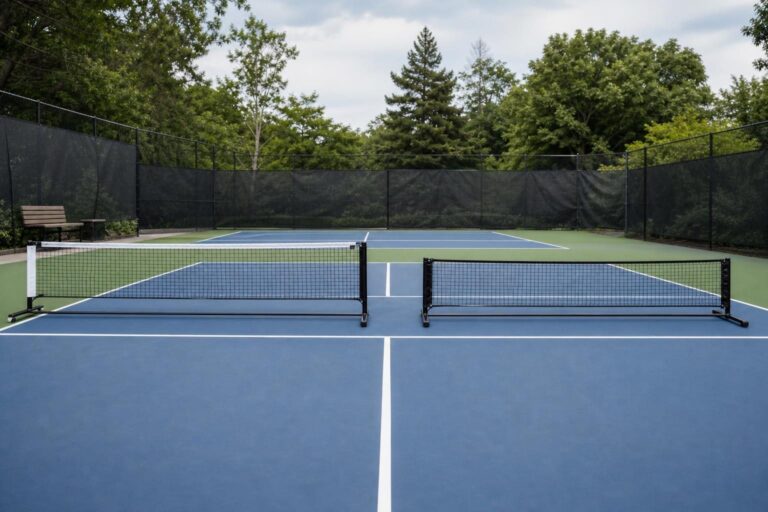
A regulation pickleball court measures 20 feet wide by 44 feet long for both singles and doubles. The net crosses the middle, leaving 22 feet between the net and each baseline.
Those dimensions describe the marked court, not the full space needed to play. You also need clear room beyond the sidelines and baselines for movement and stopping. A driveway that barely fits the court lines is not a comfortable full-court setup.
| Feature | Measurement |
|---|---|
| Court width | 20 feet |
| Court length | 44 feet |
| Net to each baseline | 22 feet |
| Non-volley zone depth on each side | 7 feet from the net |
| Net height at the sidelines | 36 inches |
| Net height at the center | 34 inches |
If a full court will not fit with safe clearance, create a smaller practice area. A net with space for controlled dinking can still be useful. Treat it as a modified practice setup rather than a regulation court.
3. Clear the Surface and Control Access
Move vehicles, bins, hoses, toys, and other obstacles out of the playing area and its surrounding clearance space. Sweep away grit, leaves, and small stones, then let any damp patches dry.
Make sure everyone in the household knows the driveway is being used. Do not set up where a vehicle might enter unexpectedly, and keep a clear route for anyone who needs to walk past.
Keep the net, court markings, and equipment on property where you have permission to use them. Do not extend the playing area into a public road or block a sidewalk.
4. Position the Net Line
Mark the midpoint of your planned court length. This is where the net will cross the court, perpendicular to the sidelines.
For a full-size court, choose a regulation-width portable net system, commonly described as a 22-foot net. The extra width allows the supports to sit outside the 20-foot-wide court.
Before assembling anything, check where the support feet will land. Keep them out of likely footpaths as much as the design allows, and leave space around both ends of the net. Players should not have to squeeze between a support foot and a wall, fence, or vehicle.
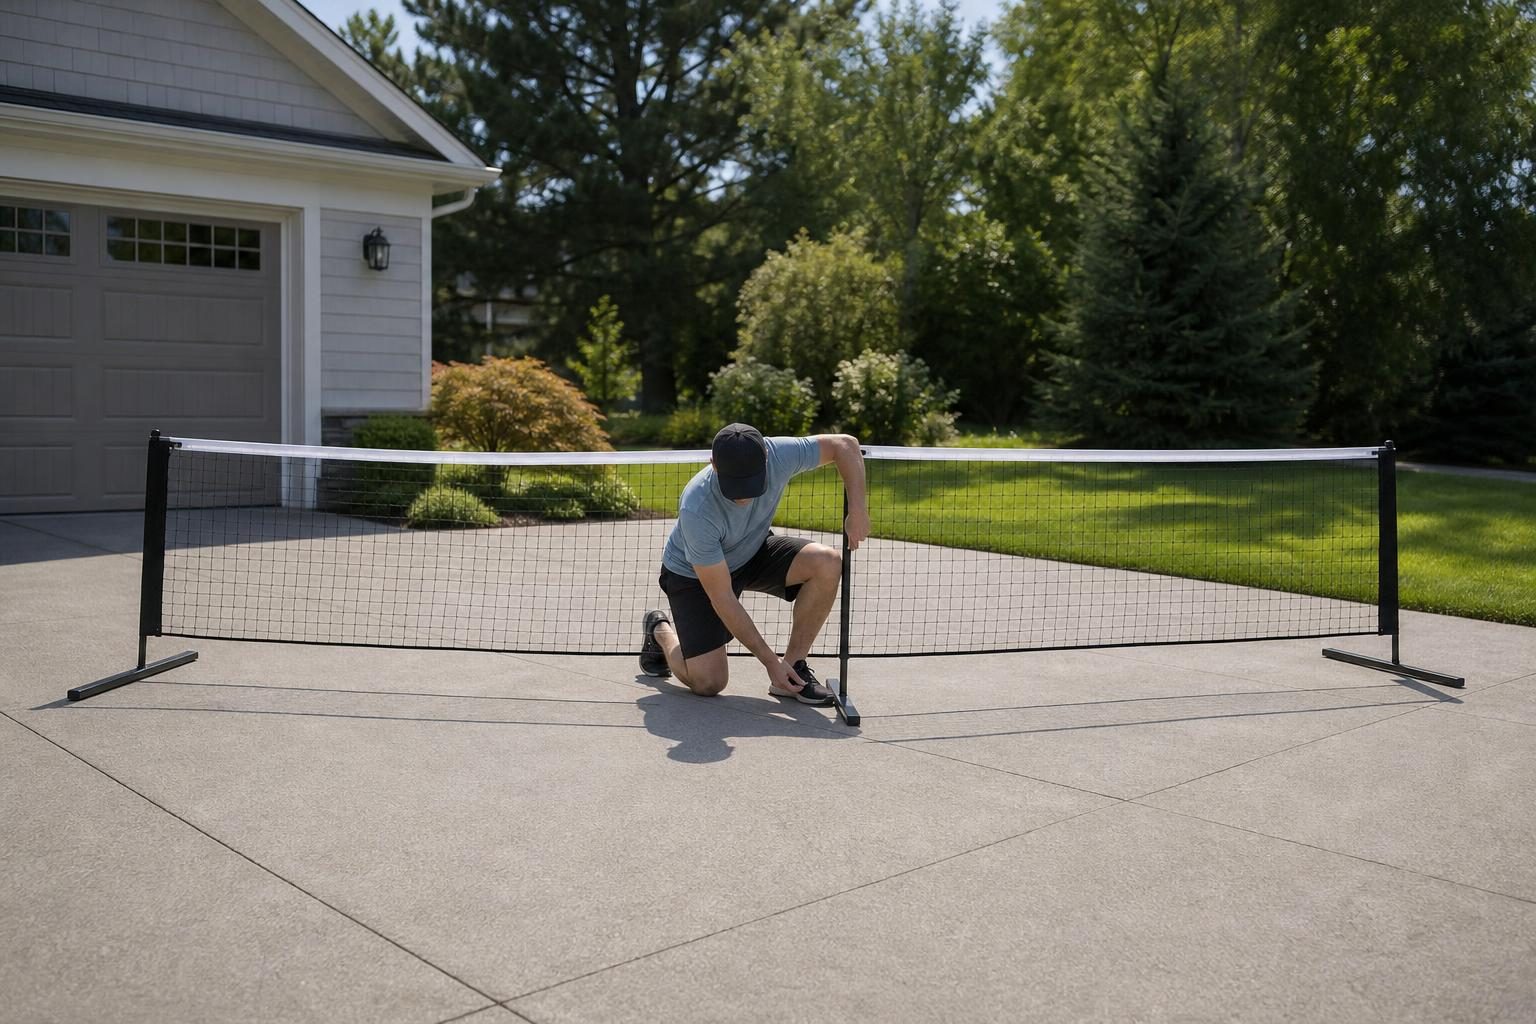
5. Assemble the Portable Net Frame
Lay out the components beside the planned net line. Identify the end supports, base rails, connecting pieces, and any center support before joining them.
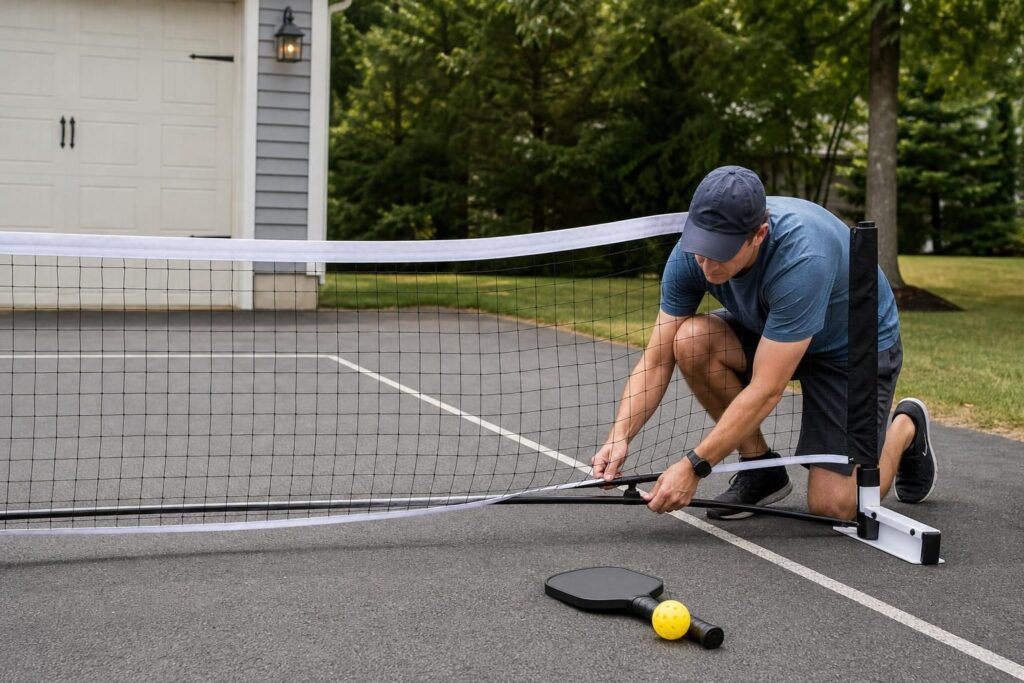
- Connect the base sections in the order shown in the manufacturer’s instructions.
- Fit the end uprights and make sure any locking buttons or pins engage fully.
- Install the center support if your system includes one.
- Attach or slide on the netting as directed.
- Position the assembled system across the marked net line.
Do not force a joint that does not fit. Check its orientation and inspect it for trapped debris. Forcing frame sections together can damage connectors and make disassembly difficult.
6. Set the Net Height and Tension
Measure from the playing surface to the top of the net. The target height is 36 inches at each sideline and 34 inches at the center. Measure at the actual sideline positions, not simply at the outermost support posts.
Use the net’s straps, buckles, or other adjustment system to remove excessive slack. The top should have its intended slight center dip rather than being pulled straight across at 36 inches.
Avoid overtightening. Excessive tension can bow the frame, lift a support, or strain the netting. Make sure the center support is seated correctly and all feet rest securely on the driveway.
If uneven ground prevents the system from sitting properly, move it to a better location. Do not balance the feet on loose bricks, scraps of wood, or other improvised stacks.
7. Mark the Playing Lines
With the net in place, mark the sidelines and baselines. For a regulation layout, court lines are 2 inches wide, and the court dimensions are measured to the outside edges of the boundary lines.
Mark each non-volley zone line 7 feet from the net, measuring to the edge farthest from the net. Then mark the centerline on each side, running from the non-volley zone line to the baseline.
Test your marking material on a small, inconspicuous patch first. Chalk may be sufficient for occasional practice. If using tape, choose a product intended for the surface and check that it lies flat without creating slippery patches or lifting edges.
8. Perform a Final Safety Check
Gently check the frame for wobbling and confirm that every connection is secure. Look along the net for twists, excessive sag, or loose straps hanging into the playing area.
Start with a few easy dinks and controlled shots. Notice whether the surface causes unpredictable footing, whether players have enough stopping room, and whether stray balls repeatedly head toward traffic.
If wind moves the net or makes it unstable, stop play. Use ballast or anchoring only when the manufacturer permits it, and keep any approved weights away from players’ feet. Never assume that adding random heavy objects makes a net safe in gusty conditions.
Common Mistakes to Avoid
- Fitting the lines but ignoring clearance: Players need room outside the court to move and slow down.
- Setting the entire net at one height: The center should be lower than the sidelines.
- Using tension to fix uneven ground: Tightening the net cannot correct a sloping driveway.
- Leaving support feet in busy walkways: Net bases can become trip hazards, especially in narrow spaces.
- Using unsuitable tape: Poorly adhered or slippery tape can create a hazard and may leave residue.
- Leaving the setup exposed unnecessarily: Wind, weather, and vehicle access can damage equipment or create unsafe conditions.
Practical Tips for Easier Driveway Sessions
Record your layout measurements. Note the net position and court offsets from fixed reference points on your property. This makes the next setup faster without relying on permanent markings.
Match the activity to the space. A compact driveway may work well for gentle dinking and placement drills, even when full-speed games would be inappropriate. Agree on boundaries and avoid chasing unreachable balls.
Pack up methodically. Remove tape when needed, let damp netting dry before storage, and keep connectors together in the carry bag. Inspect joints and net straps before the next session.
Conclusion
A good driveway pickleball setup combines a stable portable net, accurate measurements, and enough safe space to move. Start with the surface and surroundings, assemble the system according to its instructions, and check the net height before playing. When a full court will not fit safely, a smaller practice area is the better choice.