How to Lace Court Shoes to Reduce Heel Slipping
This article contains affiliate links. If you buy through them, we may earn a commission at no extra cost to you.
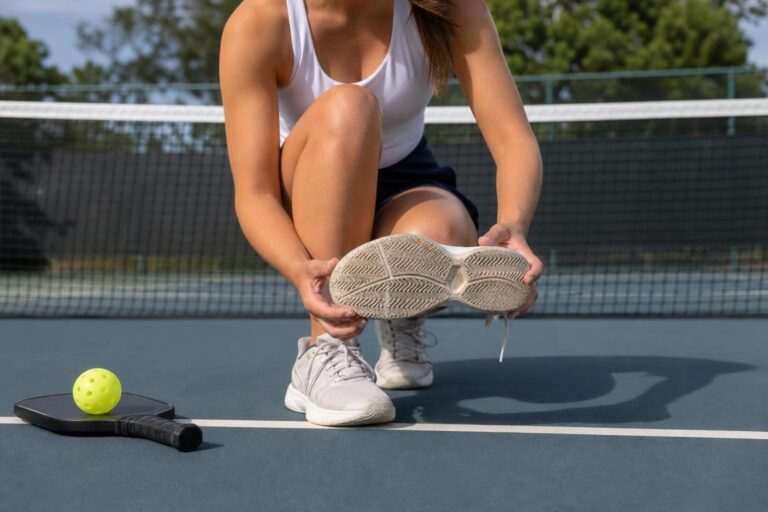
A little heel movement can become a big distraction when you split-step, stop short, or move sideways on a pickleball court. If you are wondering how to lace court shoes for heel slipping, start with a heel-lock lacing pattern. Also called a runner’s loop, it can help secure the rear of the shoe without forcing you to overtighten the entire upper.
This article is part of our guide: How to Choose Pickleball Shoes for Fit, Support, and Court Surface
Check the Fit Before Changing the Laces
Lacing can improve how a shoe holds your foot, but it cannot fully correct the wrong size or shape. Before making adjustments, put on the socks you normally wear for pickleball and check the fit of both shoes.
- Seat your heel: Slide your heel gently into the back of the shoe before tightening the laces.
- Check the forefoot: Your toes should have room to move without your foot sliding around inside the shoe.
- Notice the heel cup: A heel area that feels much too wide or deep may not become secure through lacing alone.
- Inspect the shoe: Worn heel lining, stretched uppers, and compressed cushioning can change how securely the shoe fits.
The goal is a secure, comfortable hold—not a completely rigid heel. If your heel lifts enough to rub, your sock slides repeatedly, or your foot shifts during stops, it is worth adjusting the lacing.
What You Will Need
- Your court shoes, preferably with an extra pair of eyelets near the ankle.
- Laces long enough to form two small loops and tie a secure bow.
- The socks you wear for pickleball.
- A clean, clear area for a gentle movement check.
Many court shoes have an extra top eyelet suitable for heel-lock lacing. Check that yours has a usable pair of upper eyelets on each side. Do not force a lace through decorative openings or punch new holes in the shoe.
How to Lace Court Shoes for Heel Slipping
A heel lock changes the lacing near the ankle while leaving the lower part of the shoe in a familiar crisscross pattern. Work on each shoe separately, since your feet may need slightly different tension.
Step 1: Loosen the Laces and Seat Your Foot
Loosen the laces down through the midfoot rather than simply untying the bow. Put your foot in, then gently tap your heel against the floor to settle it toward the back of the shoe.
Smooth the tongue so it sits flat and centered. A folded or shifted tongue can create pressure that makes a secure lacing pattern uncomfortable.
Step 2: Lace Normally to the Second-Highest Eyelets
Use your usual crisscross pattern up to the second-highest eyelet on each side, leaving the highest pair empty. For the loop method below, each lace end should emerge from the inside of the shoe through its second-highest eyelet.
Adjust the lower laces so they feel comfortably snug. Keep the forefoot relaxed enough for your toes to spread naturally. You should not need to squeeze the toe area to hold your heel in place.
Step 3: Make a Small Loop on Each Side
Take one lace end and feed it into the highest eyelet on the same side, going from outside to inside. Do not cross it over the tongue yet.
Leave a small loop of lace between the two upper eyelets. Repeat on the other side. You should now have one loop on each side of the shoe, with both lace ends available to cross over the tongue.
Step 4: Cross the Ends Through the Opposite Loops
Take the left lace end across the tongue and pass it through the loop on the right side. Take the right lace end across and pass it through the loop on the left side.
Keep the laces flat where possible. Twisted laces can create uneven pressure and make it harder to adjust the hold smoothly.
Step 5: Tighten Gradually
Pull the lace ends gently outward and slightly down toward the sides of the shoe. This takes up slack in the loops and draws the upper around your ankle area.
Stop when your heel feels secure, not when the laces feel as tight as possible. You should not feel pinching across the front of your ankle or pressure that causes tingling or numbness.
If the top feels too tight before your heel becomes secure, loosen the laces and reassess the fit. More tension is not always the answer.
Step 6: Tie a Secure Bow
Tie your usual secure bow while maintaining the comfortable tension you established. Add a double knot if your laces tend to come undone, but remember that a tighter knot does not fix an uncomfortable fit.
Keep the loops and lace ends short enough that they will not drag or catch under your shoes. If you barely have enough lace to tie a bow, use longer replacement laces suitable for the shoe.
Step 7: Test the Fit Before Playing
Start by walking and performing a few slow heel raises. Then try gentle split-steps, short lateral shuffles, and controlled stops in a clear area with good traction.
Check for both heel movement and new pressure points. Your heel should feel more settled, while your toes and midfoot remain comfortable. Make small adjustments before progressing to full-speed pickleball movement.
Common Lacing Mistakes
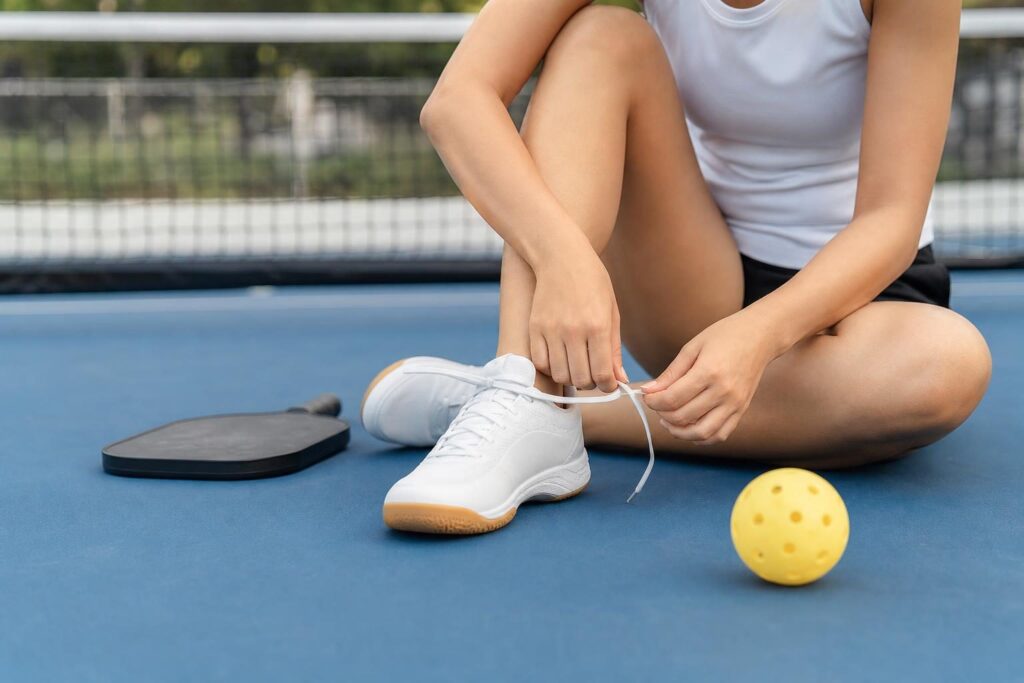
Tightening Every Section Equally Hard
Pulling all the laces extremely tight can compress the forefoot without solving heel slip. Use comfortable tension through the lower eyelets, then adjust the upper loops separately.
Skipping the Same-Side Loops
Simply crossing the laces through the highest eyelets is not the same as making a heel lock. The small same-side loops are what allow the final crossed laces to hold the upper tension more securely.
Using Laces That Are Too Short
A heel lock uses additional lace length. If forming the loops leaves tiny bow loops or short ends that are difficult to secure, replace the laces rather than tying a precarious knot.
Ignoring Pain or Numbness
A secure fit should not cause burning, tingling, numbness, or sharp pressure. Stop and loosen the shoe if those symptoms appear. Persistent pain or recurring symptoms deserve assessment by a qualified healthcare professional.
Trying to Rescue a Poorly Fitting Shoe
If your heel still lifts noticeably while the ankle area feels uncomfortably tight, the shoe may not suit your foot shape. A different heel cup or overall fit may help more than another lacing adjustment.
Practical Tips for Pickleball Players
- Change one thing at a time: Test the lacing adjustment before also changing socks or insoles. This makes it easier to identify what helps.
- Use your playing socks: Different sock thicknesses and materials can affect how your foot sits and moves inside the shoe.
- Recheck after warming up: The upper may settle and your feet may feel different once you begin moving. Adjust tension if needed.
- Fit each foot individually: One shoe may need a firmer heel lock than the other.
- Consider insole changes carefully: A thicker insole can lift your heel higher in the shoe and may worsen slipping rather than solve it.
- Inspect your laces: Replace frayed or damaged laces before they fail during play.
What If Your Shoes Do Not Have Extra Top Eyelets?
You can sometimes use the two highest existing eyelets on each side to form the same loops. However, this moves the heel-lock pattern lower on the shoe and may not provide the same hold.
Try it only if the laces run freely and the upper remains comfortable. If the pattern distorts the shoe or creates pressure over your instep, return to standard lacing and focus on even, comfortable tension. Not every court shoe works well with this technique.
Conclusion
A heel lock is a simple first adjustment for reducing heel slipping in court shoes. Form the same-side loops, cross the lace ends through them, and tighten gradually. Test the result with controlled pickleball movements, and prioritize comfort over maximum tightness. If the heel still slips, reassess the shoe’s fit and condition rather than pulling the laces harder.