How to Mark Pickleball Court Lines on a Driveway
This article contains affiliate links. If you buy through them, we may earn a commission at no extra cost to you.
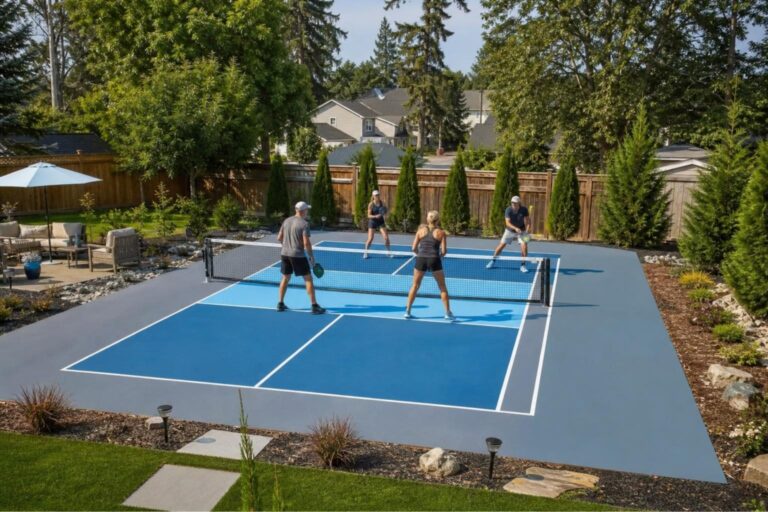
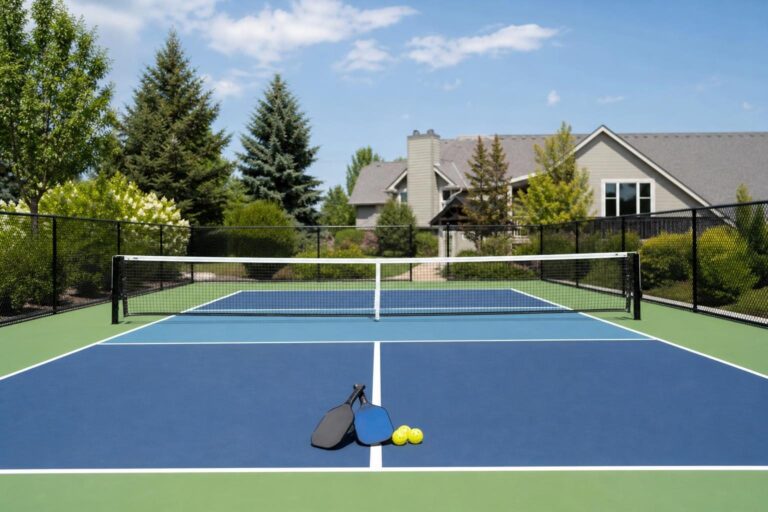
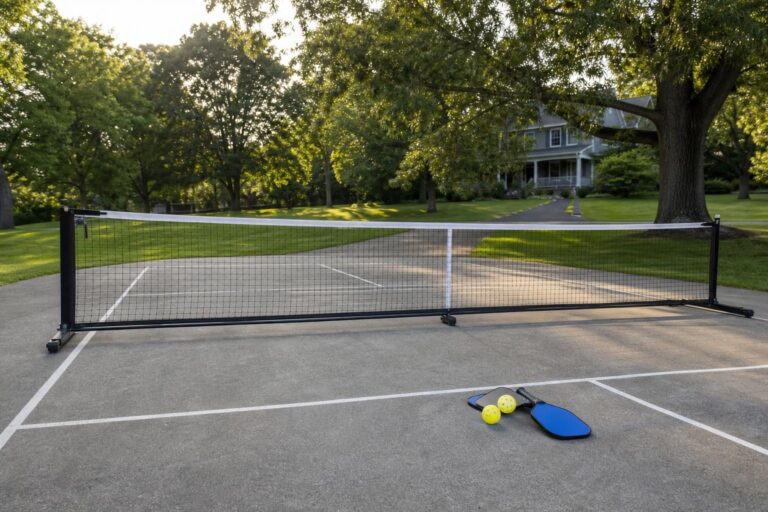
Learning how to mark pickleball court lines on a driveway starts with checking the space, choosing a removable or permanent marking method, and measuring carefully. With a tape measure, a few basic supplies, and a portable net, you can create a useful practice court or a regulation-size layout if your driveway is large enough.
This article is part of our guide: Home Pickleball Court Setup Guide: Space, Surfaces, Nets, and Balls
Check Whether Your Driveway Has Enough Space
A regulation pickleball court measures 20 feet wide by 44 feet long for both singles and doubles. Those dimensions describe the court lines, not the full area players need to move safely.
A commonly recommended minimum playing area is 30 by 60 feet, with 34 by 64 feet preferred when space allows. That extra room provides space beyond the sidelines and baselines.
Before measuring, inspect your driveway for:
- Surface problems: Loose gravel, raised cracks, potholes, oil, and slippery coatings.
- Obstacles: Parked cars, basketball poles, steps, walls, drains, and landscaping.
- Slope: A noticeable incline can affect footing and make the ball roll away between rallies.
- Traffic: Players should not need to chase balls into a road or cross an active vehicle entrance.
- Runoff space: Leave room to stop and change direction beyond every boundary.
If a full court will not fit safely, mark a smaller practice area instead. It can still work for dinking and controlled drills, but it should not be described as a regulation court.
What You Will Need
- A long tape measure, preferably at least 50 feet
- A second tape measure or a helper
- String for establishing straight layout guides
- Washable sidewalk chalk or a pavement-compatible chalk line
- A straightedge or marking template
- Outdoor court-marking tape or compatible court-line paint, if desired
- A broom and appropriate cleaning supplies
- A portable pickleball net
- Small weights to hold string ends without damaging the driveway
Standard court lines are 2 inches wide. Thin chalk marks are useful as layout guides, but finished lines should be widened to 2 inches if you want a regulation-style court.
Choose Your Line-Marking Method
Chalk for a Temporary Layout
Washable sidewalk chalk is a practical starting point when you are testing the court position. It is easy to adjust, although rain, tires, and foot traffic can wear it away.
Test chalk in an inconspicuous spot first. Some pigments, especially in construction marking powders, can leave persistent stains on porous pavement.
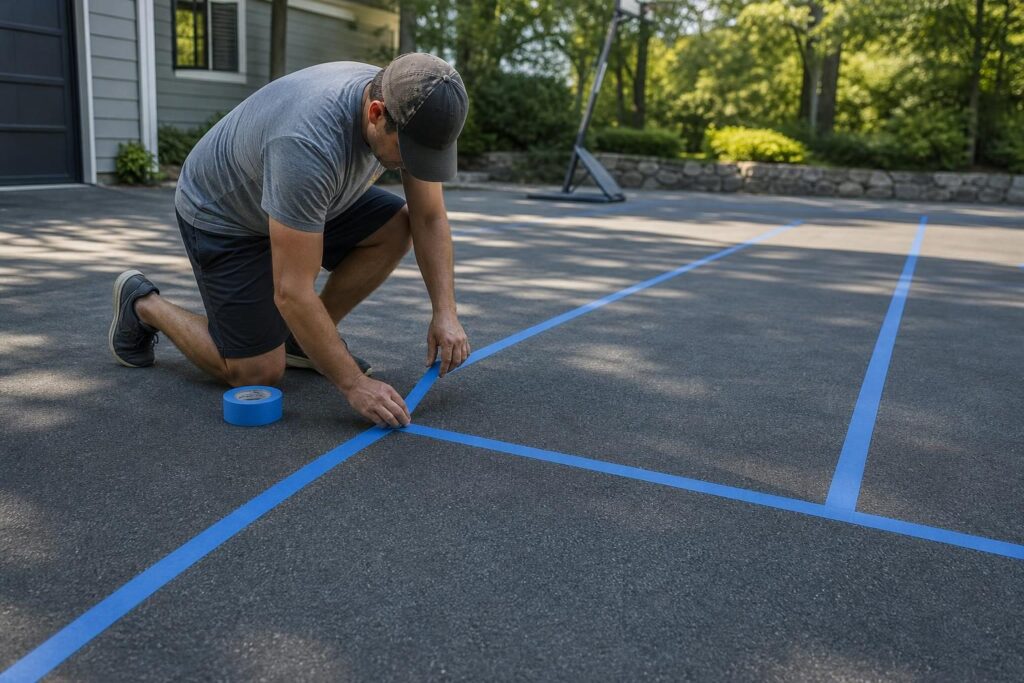
Tape for Clear, Removable Lines
Use tape intended for outdoor court marking and suitable for your driveway surface. Household masking tape and duct tape may lift, become slippery, leave residue, or pull up a weak surface coating.
Check the tape manufacturer’s surface and removal instructions. Remove any tape that wrinkles or develops raised edges.
Paint for a Longer-Lasting Court
For permanent lines, choose a court-line coating compatible with your asphalt, concrete, or existing driveway finish. Surface preparation, temperature limits, and curing requirements vary by product.
Try a temporary layout before painting. It is much easier to move a chalk line than to correct a painted court.
How to Mark Pickleball Court Lines on a Driveway: Step by Step
Step 1: Clean and Dry the Surface
Sweep away dirt, stones, leaves, and loose material. Clean contaminated areas using a method appropriate for the driveway, then let the surface dry completely.
Do not apply tape or paint over damp pavement, loose sealer, or crumbling asphalt. Follow the marking product’s instructions for newly installed or recently sealed driveways.
Step 2: Choose the Court Position
Lay out the court so players have the clearest available space behind both baselines and along both sidelines. Avoid placing a baseline directly against a garage door or positioning the net over a drain.
Account for the portable net’s base and support feet, which may extend beyond the playing court. Keep string, weights, and other measuring equipment out of the area before anyone plays.
Step 3: Establish a 20-by-44-Foot Rectangle
Mark the two outside corners of one baseline, 20 feet apart. From those corners, measure toward the opposite end to establish the 44-foot sidelines.
Use string guides to connect the corners. These guides should represent the outside edges of the finished boundary lines, because court length and width include the lines.
Check that the opposite baseline is also 20 feet wide and both sidelines are 44 feet long.
Step 4: Square the Court
Measure diagonally between opposite corners in both directions. For a 20-by-44-foot rectangle, each diagonal should be approximately 48 feet, 4 inches.
Adjust the corners until both diagonals match and the side measurements remain correct. Checking only the length and width can leave you with a skewed court.
Step 5: Mark the Net Position
The net divides the 44-foot court into two equal halves. Measure 22 feet from the outside edge of either baseline along both sidelines and mark the net’s center plane.
Stretch a temporary string across those midpoint marks to guide your remaining measurements. You do not need to paint or tape a line beneath the net.
Step 6: Mark the Non-Volley Zones
The non-volley zone, commonly called the kitchen, extends 7 feet from the net on each side. Measure from the net plane toward each baseline and mark a line across the full court width.
The kitchen line is included in the non-volley zone. Position its edge farthest from the net at 7 feet, with the 2-inch stripe extending back toward the net.
Both kitchen lines should run parallel to the net and baselines.
Step 7: Divide the Service Courts
Find the midpoint of each baseline and each kitchen line, 10 feet from either outside sideline edge. Connect the corresponding midpoint marks on each half of the court.
These centerlines separate the left and right service courts. Center each 2-inch stripe on its midpoint guide and extend it between the kitchen line and baseline.
Do not extend the centerlines through the kitchens.
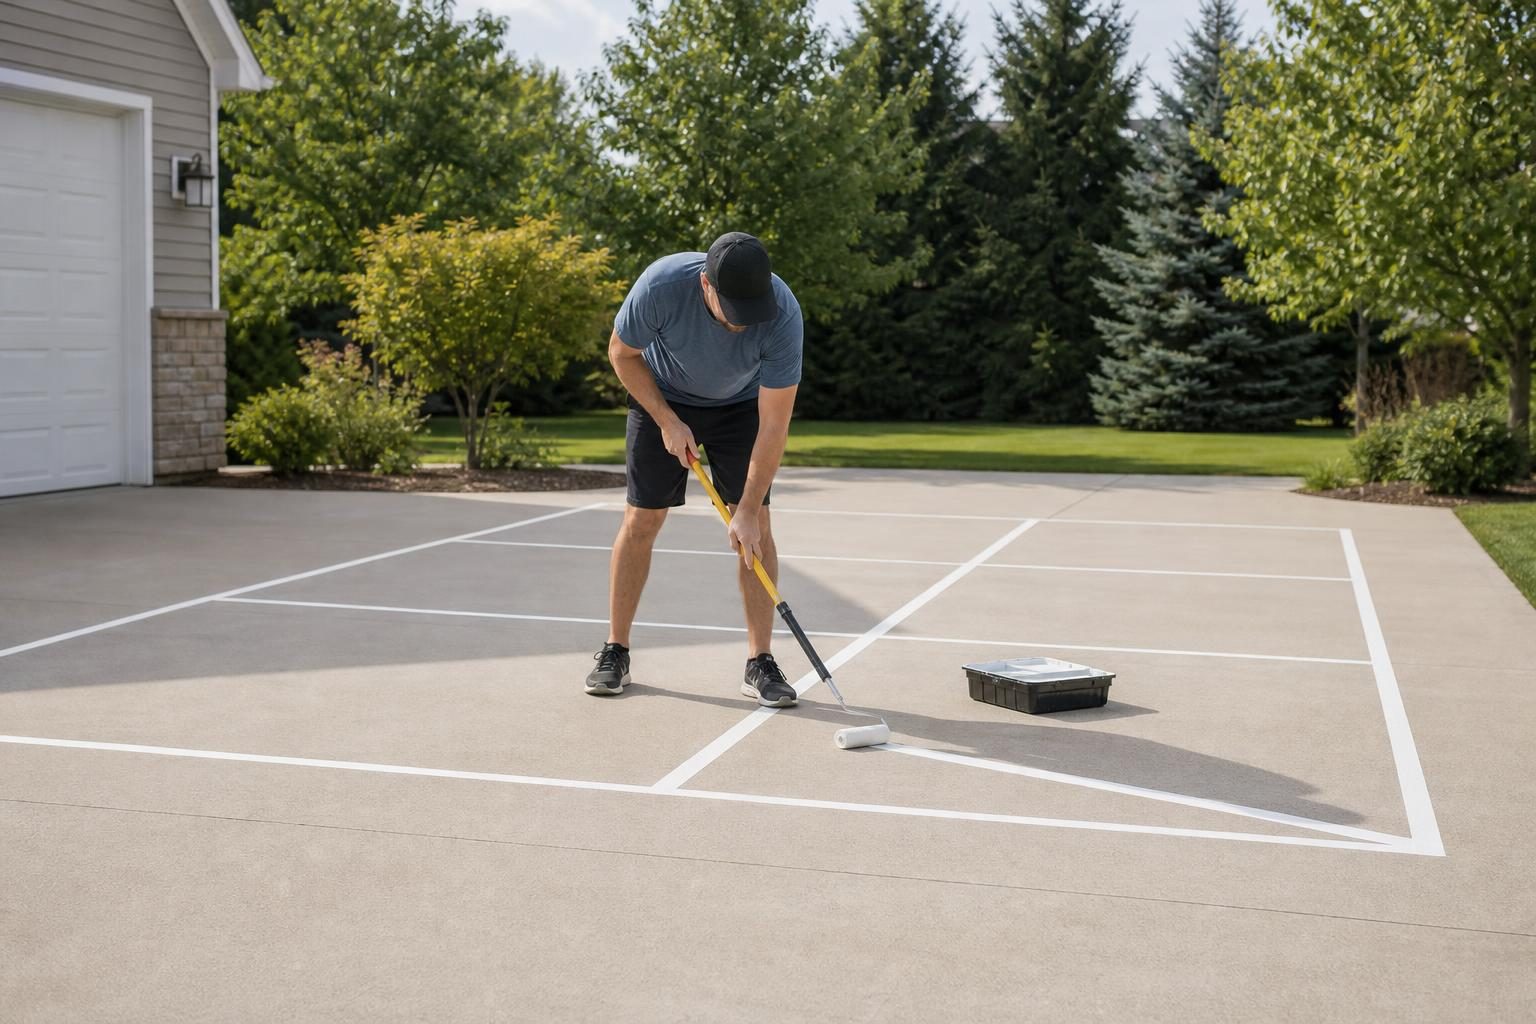
Step 8: Apply the Finished Lines
Check every measurement before widening chalk marks, laying tape, or painting. Keep the outer boundary stripes inside your 20-by-44-foot outline.
- For chalk: Use a straightedge or template to create consistent 2-inch stripes.
- For tape: Apply it to a clean, dry surface without stretching it, following the product instructions.
- For paint: Mask carefully and follow the coating manufacturer’s application and curing directions.
Choose a line color that contrasts clearly with the pavement. If using paint, use a coating intended for sports surfaces rather than assuming any exterior paint will provide suitable traction.
Step 9: Set Up the Net and Inspect the Court
Center the portable net on your midpoint marks. Regulation net height is 36 inches at the sidelines and 34 inches at the center.
Walk the entire layout before playing. Check for loose tape, slippery patches, overlooked obstacles, and adequate stopping space. Let painted lines cure fully before allowing foot or vehicle traffic, according to the coating instructions.
Common Mistakes to Avoid
- Measuring only the playing rectangle: A driveway that barely fits the lines may still be too cramped for safe games.
- Ignoring line width: Adding boundary tape outside a measured 20-by-44-foot rectangle makes the court oversized.
- Skipping diagonal checks: Equal opposite sides do not guarantee square corners.
- Measuring the kitchen from a net support foot: Use the net plane, not the edge of its base.
- Using unsuitable adhesive: The wrong tape can leave residue or damage driveway coatings.
- Painting before trying the layout: A temporary setup can reveal problems with glare, obstacles, or available space.
Practical Tips for Driveway Play
Start with chalk and play a few controlled practice sessions before committing to permanent lines. Pay attention to footing, visibility, and how often players approach the driveway’s edges.
Inspect temporary markings before every session, especially after rain or vehicle traffic. Remove loose tape promptly and refresh faded chalk rather than guessing where a boundary belongs.
If space is limited, a kitchen-focused practice area can be more useful than a cramped full court. Keep the net and kitchen dimensions accurate where possible, and use the setup for controlled drills rather than full-speed rallies.
Conclusion
Marking pickleball court lines on a driveway is manageable when you work from a square layout and account for line width. Check safety and runoff space first, measure before applying permanent markings, and choose materials that suit your pavement. A careful temporary setup is often the best first step toward a dependable home practice court.